In this tutorial we are going to learn how to play a music MP3 file stored on a remote server or in the cloud like Amazon Web Services. In fact the MP3 file I am going to use in this tutorial is stored in Amazon Cloud in a S3 bucket.
This tutorial will contain both a video demonstration and a detailed description.
First comes the video:
To begin with let’s create a new project with a single ViewController.
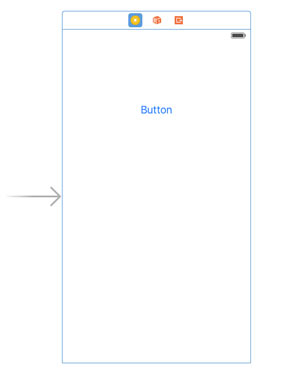
Then let’s find a UIButton in our Objects Library and drag and drop it on our initial ViewController like so:
To make our UIButton to look like a Play button let’s drag and drop some icons to our project:
![]()
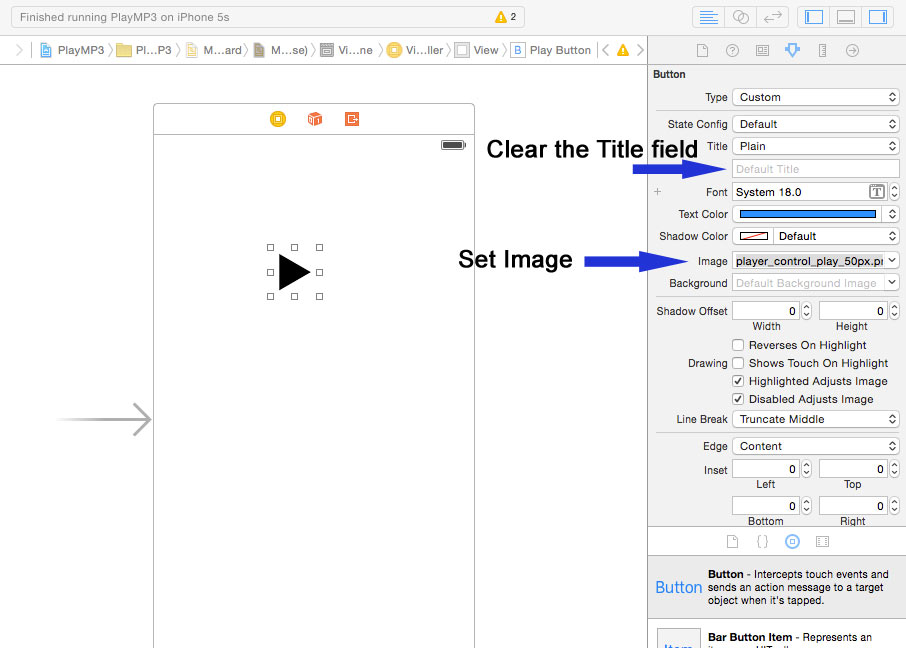
Now, select UIButton and set the “player_control_play_50px.png” as UIButton Image. And then clear the UIButton title because we no longer need it. Your UIButton should now look like this:
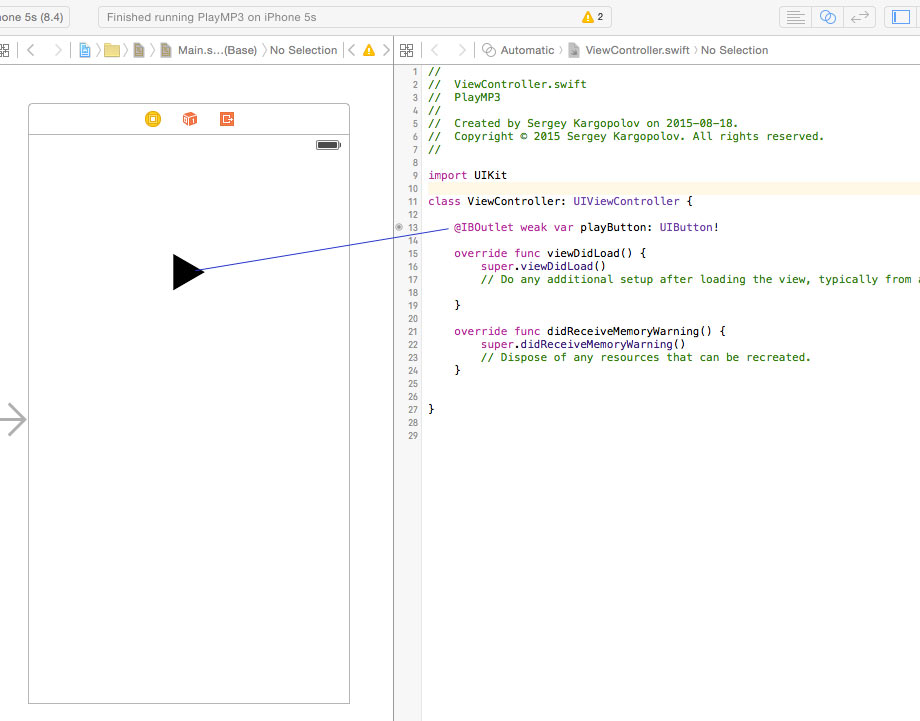
Next step is very important. We need to create an Outlet for UIButton, so that we can interact with it.
- Open your ViewController in Assistant Editor
- Select the UIButton, then hold “control” button on your keyboard, click and drag and drop the blue connector line right beneath the Class declaration.
- Give your Outlet a name “playButton”. Like so:
Let’s go back to our ViewController and let’s import the only framework we will need to use to make our little app be able to play music. So, in your ViewController add a new line at the very top:
import AVFoundation
To play MP3 music file located on remote server we will need to access it with URL. In your viewDidLoad let’s create a URL object.
override func viewDidLoad() {
        super.viewDidLoad()
 // Do any additional setup after loading the view, typically from a nib.
let url = NSURL(string: "https://s3.amazonaws.com/kargopolov/kukushka.mp3")
}
We will now need to create a AVPlayerItem and AVPlayer. And because we will need to access these two objects from other functions let’s declare them as properties of our ViewController. Outside of viewDidLoad() function, right under the ViewController class opening curly bracket “{” add these two lines:
    var playerItem:AVPlayerItem?
    var player:AVPlayer?
Now let’s create a new AVPlayerLayer and add it to our main View. Your viewDidLoad() function will now look like this:
    override func viewDidLoad() {
        super.viewDidLoad()
        // Do any additional setup after loading the view, typically from a nib.

        let url = NSURL(string: "https://s3.amazonaws.com/kargopolov/BlueCafe.mp3")
        playerItem = AVPlayerItem(URL: url!)
        player=AVPlayer(playerItem: playerItem!)
        let playerLayer=AVPlayerLayer(player: player!)
        playerLayer.frame=CGRectMake(0, 0, 300, 50)
        self.view.layer.addSublayer(playerLayer)
    }
To make our button handle tap events let’s add to our viewDidLoad function the following line of code:
playButton.addTarget(self, action: "playButtonTapped:", forControlEvents: .TouchUpInside)
this will instruct the button to call “playButtonTapped:” action when user taps on it. So let’s create playButtonTapped: action.
      func playButtonTapped(sender: AnyObject) {

      }
When user taps on Play button we need to make a decision. If music is currently not playing, we need to start playing it. Else, if music is currently playing, then we need to pause it. Now our playButtonTapped function will look like this:
     func playButtonTapped(sender: AnyObject) {
        if player?.rate == 0
        {
            player!.play()
            playButton.setImage(UIImage(named: "player_control_pause_50px.png"), forState: UIControlState.Normal)
        } else {
            player!.pause()
            playButton.setImage(UIImage(named: "player_control_play_50px.png"), forState: UIControlState.Normal)
        }
    }
If we need to handle situation when our music item finished playing, we can add an observer listening for AVPlayerItemDidPlayToEndTimeNotification. So let’s create a new function called viewWillAppear and add a needed observer. Our viewWillAppear function will look like this:
    override func viewWillAppear(animated: Bool) {
        NSNotificationCenter.defaultCenter().addObserver(self, selector: "finishedPlaying:", name: AVPlayerItemDidPlayToEndTimeNotification, object: playerItem)
    }
This will make application call finishedPlaying: function when music item played all the way to the end.
And the reason we added an observer in viewWillAppear function is because when our view disappears we need to remove this observer. To do that let’s create another function called viewWillDisappear and use it to remove observer from NSNotificationCenter.
    override func viewWillDisappear(animated: Bool) {
        NSNotificationCenter.defaultCenter().removeObserver(self)
    }
Now let’s implement finishedPlaying: function and when it is called, we will:
- Reset UIButton image
- Rewind our music file all the way to its initial position, so that user can tap on the button again and play the file from the beginning.
    func finishedPlaying(myNotification:NSNotification) {
        playButton.setImage(UIImage(named: "player_control_play_50px.png"), forState: UIControlState.Normal)

        let stopedPlayerItem: AVPlayerItem = myNotification.object as! AVPlayerItem
        stopedPlayerItem.seekToTime(kCMTimeZero)
    }
Done!
We can now play our music file! 🙂
Also, I have one more swift code example to help you make music playback slider update and smoothly slide as music is playing on. Check out how to Add Periodic TimeObserver to Update Music Playback Slider to your AVPlayer.
Happy learning!